
This post isn’t exactly Homelab, but it’s still something I like to tinker with. I’ve been doing on-prem with IaaS so far, so now it’s time to see what PaaS feels like.
Getting familiar with the hosting UI
At first I felt like a monkey in there, too many buttons and it’s overwhelming.
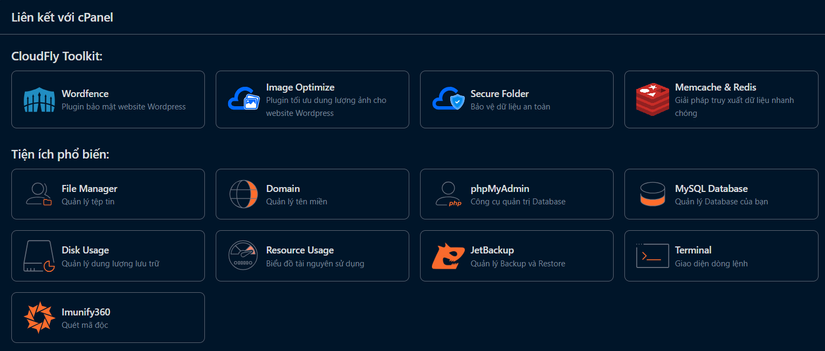
too many buttons
cpanel has even more buttons
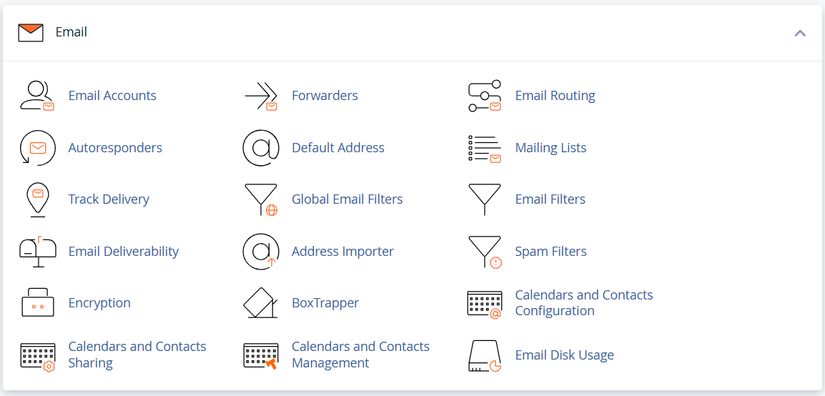
The Email section had a few things I wanted to do

This will let me make an email like danielnguyen@domain.com. I’ve wanted that for a long time but never had the chance. Now I saw it so I did it right away
The UI is pretty easy to use, though I still haven’t checked if it actually works.
Start testing
From what I learned, after adding my new domain and pointing DNS, it should be accessible. But for anything to show up, you need to add it into the hosting /public.
So I tried adding the index.html file from post 4 Custom Intro
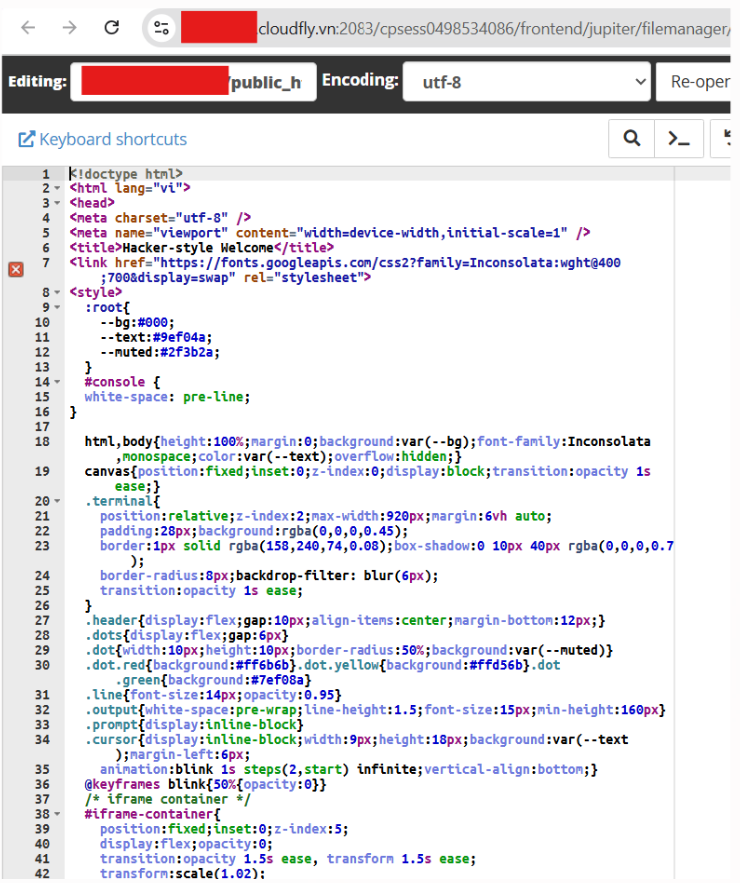
The silly Hacker screen worked as expected

Approaching it with Git workflows
Now that I’ve confirmed HTML files work, the next step is Build Page Hexo => FTP into /public
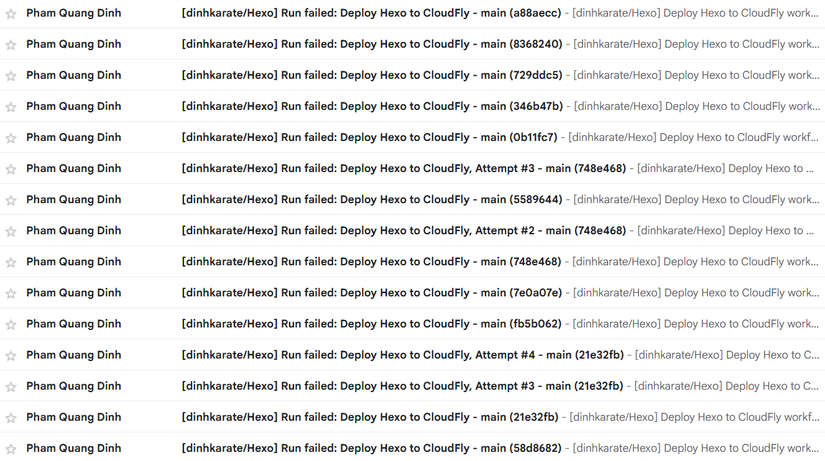
After a lot of edits and getting spammed by emails, I finally got a complete workflow config file
name: Deploy Hexo to CloudFly

on:
  push:
    branches:
      - main

jobs:
  build-deploy:
    runs-on: ubuntu-latest

    steps:
      - name: Checkout source (with submodules)
        uses: actions/checkout@v3
        with:
          submodules: true
      - name: Setup Node.js
        uses: actions/setup-node@v3
        with:
          node-version: 18

      - name: Install dependencies
        run: npm install

      - name: Build Hexo site
        run: npx hexo generate

      - name: Deploy via FTP
        uses: SamKirkland/FTP-Deploy-Action@v4.3.3
        with:
          server: ${{ secrets.FTP_SERVER }}
          username: ${{ secrets.FTP_USERNAME }}
          password: ${{ secrets.FTP_PASSWORD }}
          local-dir: ./public/
          server-dir: /../
          protocol: ftp
          exclude: |
            **/.git*
            **/.github*
Then go into the repo setting to set variables username, pass, server
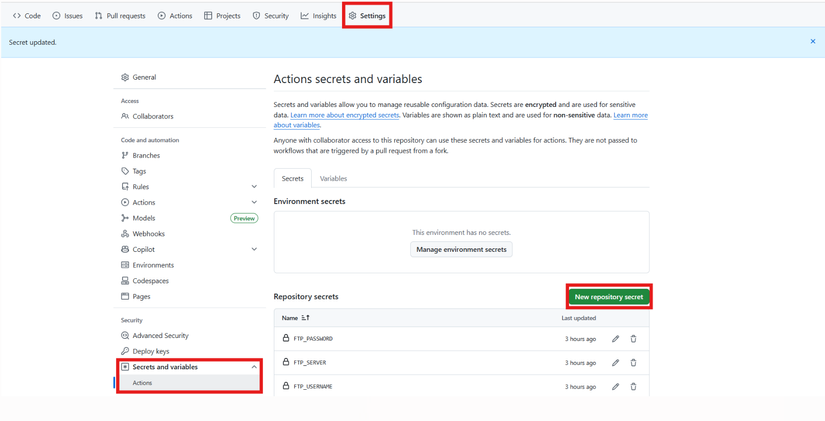
And now it works smoothly.
A few errors I hit while doing it
Cloudfly FTP is a bit weird?
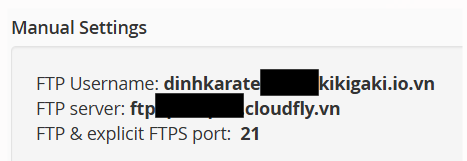
I used the exact config Cloudfly provided to FTP in, but it didn’t work. It couldn’t resolve the domain IP. So I pointed DNS from my domain to the hosting IP, and in the workflow variables I just put the IP for convenience.
Hexo Theme issue
Since I used an old repo, I thought it would work fine, but it didn’t push my Hexo Theme because it was a submodule. The fix is simple.
git submodule add https://github.com/theme-particlex/hexo-theme-particlex themes/particlex
This command creates a .gitmodules for you
Later when the theme updates, it will update for you too
Result
Looks pretty cute, right? I’ll use it like this for now, later I’ll tweak it. Sometimes I think my Viblo should actually be dinhkarate. But I’ve written so much here already, so I’ll just keep it. Consider it a pen name haha


Comments
Join the conversation
Leave a comment
No comments yet
Be the first to share your thoughts!