
In post 17 we already used backups once. So what was Proxmox Backup Server (PBS) even created for?
That question was also asked in the past on Mr. Thuan Bui’s blog
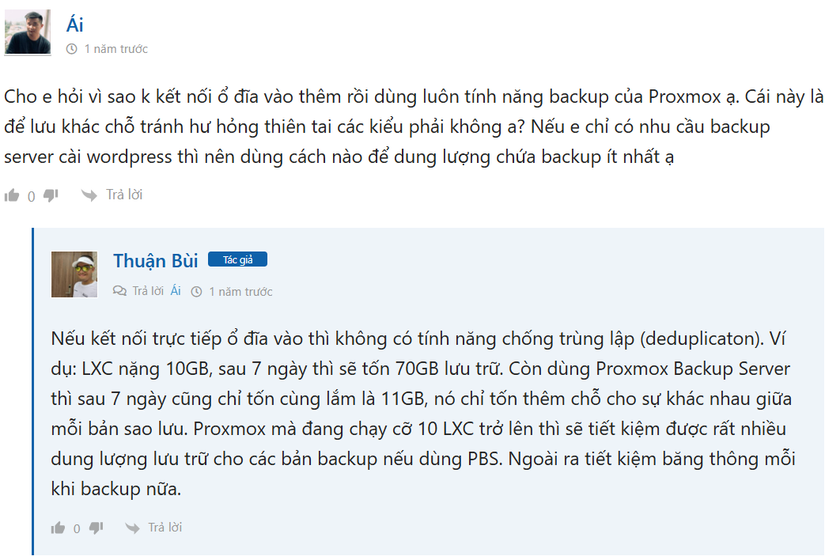
Choosing PBS or a PVE VM PBS
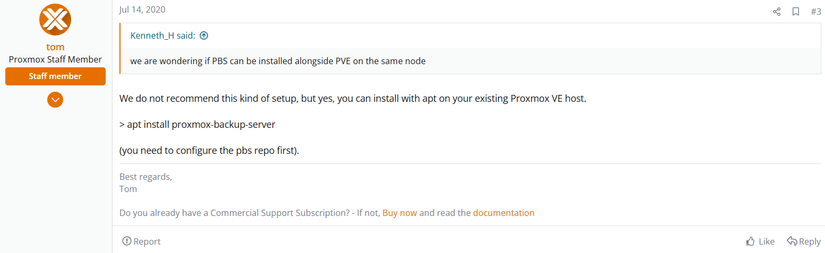
I was pretty torn about this. Partly because there’s a myth that you shouldn’t run PBS in a VM on the Proxmox forums
Even the staff doesn’t recommend it
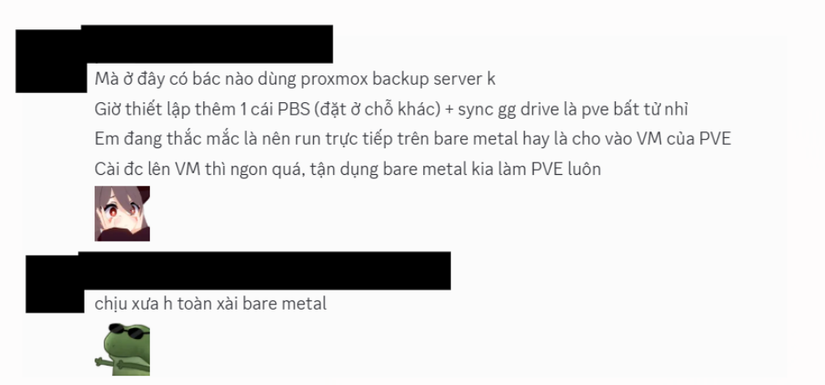
I also asked some seniors
Until a friend (we worked on a project together) sent me a promo from VPSTTT for free 1TB for 3 months. So I wanted to test how the Bucket would be. And that bucket is only available for PBS. If you try hard enough you can still use it on PVE, but I wanted to do it on PBS.
Even better, thanks to this post by Mr. Thuan Bui showing PBS on Docker and VPS is feasible, I decided to install it on my 1-year VPS.
Install steps
I used Hypercore VPS — still Hypercore, my go-to choice =))
Hypercore VPS runs on Proxmox, so if you run Docker on it you can think of it as Docker on a Debian VM on top of Proxmox. Not much different from running LXC and then Docker inside PVE.
I used this repo: https://github.com/ayufan/pve-backup-server-dockerfiles
Create a new folder for PBS and the docker-compose.yml file
mkdir ~/pbs
cd ~/pbs
nano docker-compose.yml
Enter the following content
services:
  pbs:
    image: ayufan/proxmox-backup-server:latest
    ports:
      - 8007:8007
    mem_limit: 2G
    volumes:
      - ./pbs_etc:/etc/proxmox-backup
      - ./pbs_logs:/var/log/proxmox-backup
      - ./pbs_lib:/var/lib/proxmox-backup
      - ./backups:/backups
    tmpfs:
      - /run
    cap_add: # smartctl support
      - SYS_RAWIO
    #devices:
    # - /dev/sda
    restart: unless-stopped
    stop_signal: SIGHUP
I commented out devices: because this is a VPS with a virtual disk. You can adjust it if needed. I left it so it auto-detects.
Next there are three ways to access PBS.
Method 1: Use a VPN
Method 2: Allow firewall then connect via http://<IP-VPS>:8007
sudo ufw allow 8007/tcp
sudo ufw reload
sudo ufw status
Method 3: Use Cloudflared
I initially used Cloudflared, but later found it couldn’t verify the Token, which broke the connection between PVE and PBS. So I don’t recommend this method
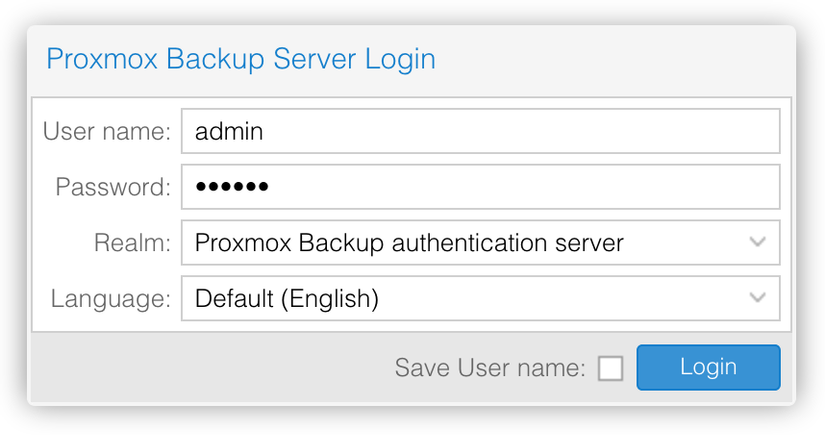
Log in to Proxmox Backup Server (PBS)
For the first login, use the default info
Username: admin
Password: pbspbs
Realm: Proxmox Backup authentication server
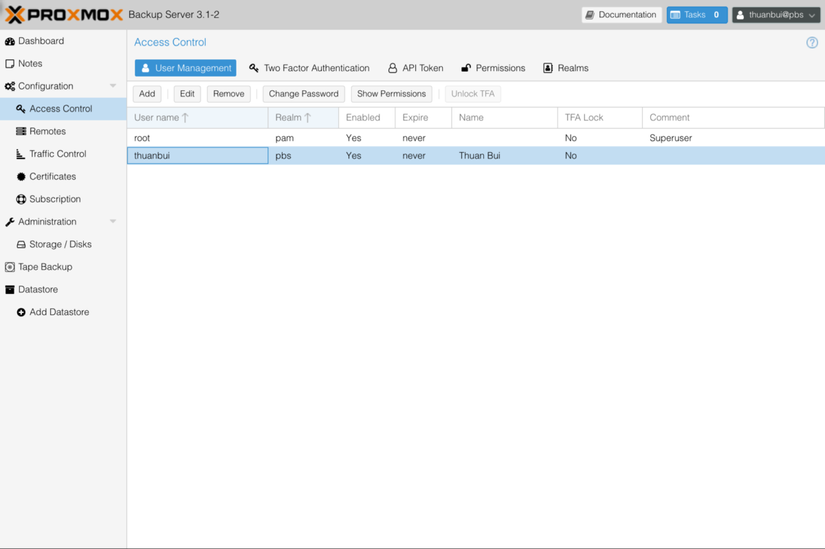
After logging in, go to Access Control, click Add to create a new account
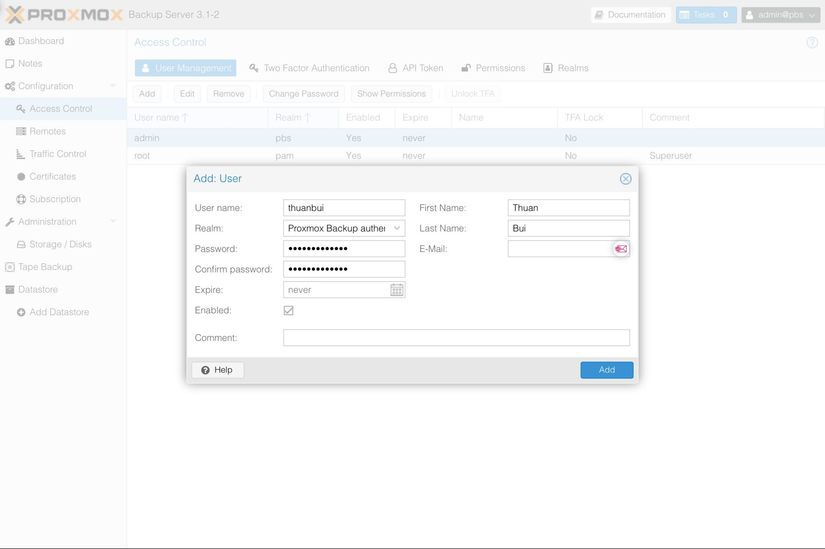
Next, switch to the Permission tab, click Add to grant admin rights to the new account.
Here I used a portion of the content from Mr. Thuan Bui’s post
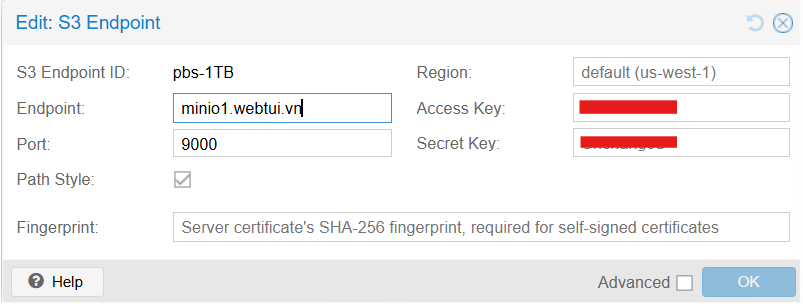
Add S3 Storage
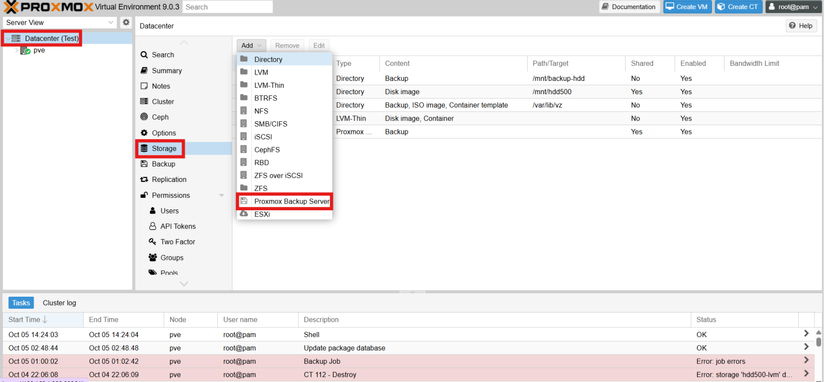
Go to the PBS UI and navigate as shown in the image
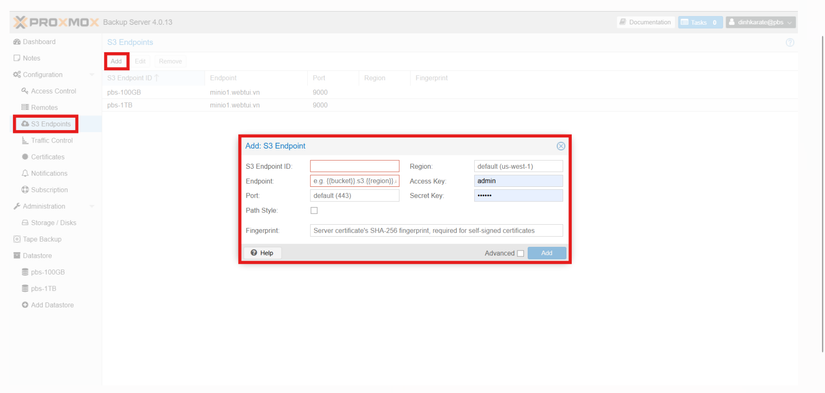
Fill in the information from your S3 provider. I used VPSTTT with MinIO
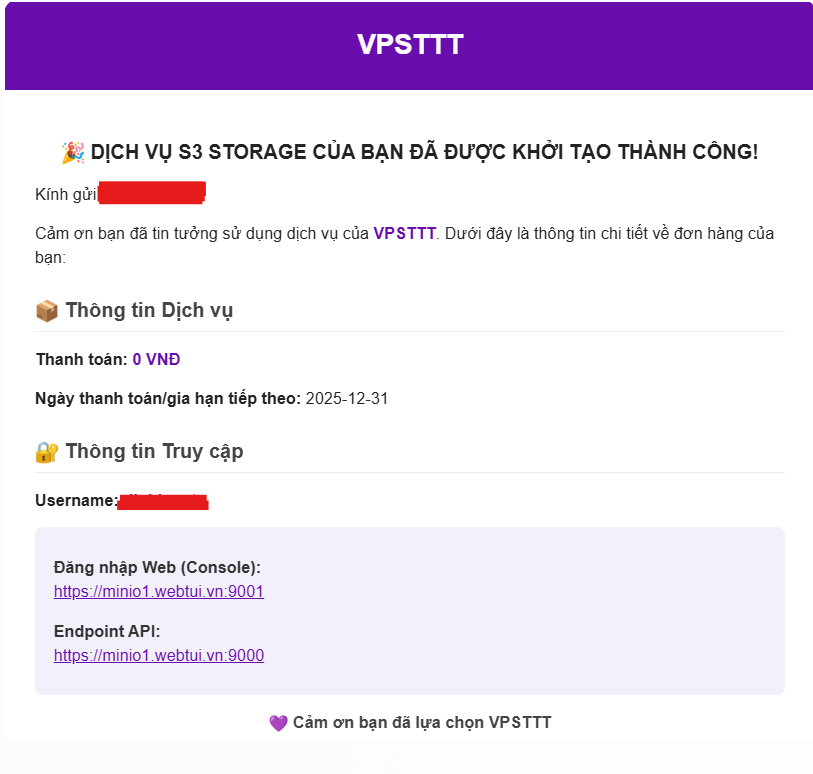
Now just enter it; remember the API port in my case is 9000
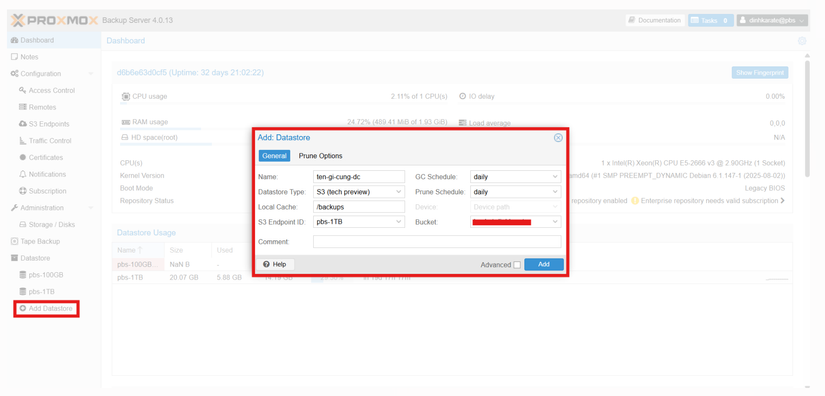
Create a Datastore on PBS
Click Add Datastore in the left menu, then enter info like the image. Backing Path: /backups is the path declared on line 11 in docker-compose.yml
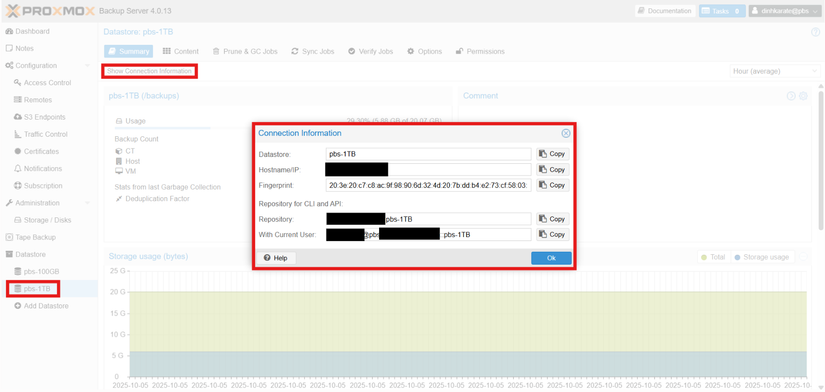
The new datastore will be added. Click Show Connection Information to see details; if you used method 2 with the VPS IP, you can connect directly. I like things a bit more complicated, so I chose a domain name. That means the next step.
Install Caddy for Reverse Proxy
I’ve wanted to try Caddy for a while. Since there’s a chance, I used it; the benefit is you don’t have to manually request an SSL cert, it can do it automatically.
Install Caddy
sudo apt update -y
sudo apt install -y debian-keyring debian-archive-keyring apt-transport-https curl

curl -1sLf 'https://dl.cloudsmith.io/public/caddy/stable/gpg.key' | sudo gpg --dearmor -o /usr/share/keyrings/caddy-stable-archive-keyring.gpg
curl -1sLf 'https://dl.cloudsmith.io/public/caddy/stable/debian.deb.txt' | sudo tee /etc/apt/sources.list.d/caddy-stable.list

sudo apt update -y
sudo apt install -y caddy

sudo systemctl enable caddy
sudo systemctl start caddy
sudo systemctl status caddy --no-pager
Then nano /etc/caddy/Caddyfile
Edit it like this
tên-miền-của-bạn {
    reverse_proxy https://127.0.0.1:8007 {
        transport http {
            tls_insecure_skip_verify
        }
    }
}
Edit the PBS docker-compose.yml
services:
  pbs:
    image: ayufan/proxmox-backup-server:latest
    ports:
      - 127.0.0.1:8007:8007
    mem_limit: 2G
    volumes:
      - ./pbs_etc:/etc/proxmox-backup
      - ./pbs_logs:/var/log/proxmox-backup
      - ./pbs_lib:/var/lib/proxmox-backup
      - ./backups:/backups
    tmpfs:
      - /run
    cap_add: # smartctl support
      - SYS_RAWIO
    #devices:
    # - /dev/sda
    restart: unless-stopped
    stop_signal: SIGHUP
Add the line ports: 127.0.0.1:8007:8007
Next, go to your domain management and point an A record to your VPS.
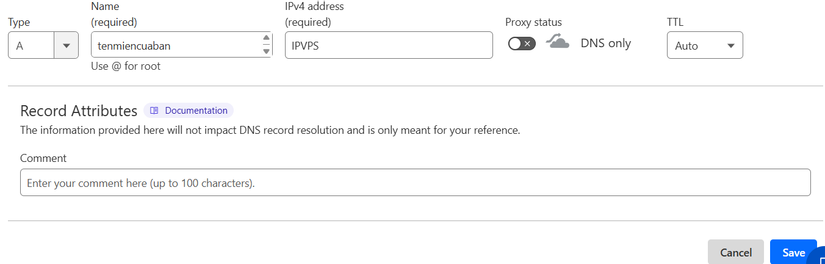
And you’re done.
Connect PBS with PVE
Now just follow the info under Show Connection Information from before.
Usage is similar to post 17 but the difference is selecting the PBS storage.
Good luck!


Comments
Join the conversation
Leave a comment
No comments yet
Be the first to share your thoughts!